Showing posts with label tutorials. Show all posts

10.12.15

Christmas Tutorial

 As promised, a tutorial for some holiday embroidered napkin rings.  These are pretty quick and easy to whip up so it's not too late to put together a set for your Christmas dinner or a gift for your stitching pals.

For each napkin ring you will need:

  • 6" x 1 1/2" piece of deep red felt
  • 6" x 1" piece of white felt
  • DMC embroidery floss medium green #367
  • DMC embroidery floss dark green #890
  • DMC embroidery floss red #304
  • DMC embroidery floss dark tan #840

    Notice there are buttons in the photo. I thought about putting them on but decided I didn't like it. I left them in the photo because you might decide you like the look. Also, both embroidery stitches used are linked to a video tutorial on Mary Corbet's site.

To begin the embroidery, using three strands of #840 stitch a line using a backstitch down the center of the white felt. I didn't draw a line, just eyeballed it. If you want you can measure and make small dots with a fine marker as a guide. I left about 1/8" at each end. Notice my line is not perfect! I don't worry about things like that. Branches aren't perfectly straight either!!!!

 Now time to add the pine needles. I decided to stitch these with two different greens in the needle at the same time. This creates a bit of a shadow effect. Measure out two strands of #367 and one strand of #890. Make sure they are the same length. Put all three strands in your needle together. 


 Starting down about three back stitches make little pine needles in sets of two and three where each back stitch joins. Alternate the stitches on either side of the center line. Work your way all the way down the center line stopping one or two back stitches from the end.


Using two strands of #304 make french knots along the center line, alternating sides about 3/4" apart. I wanted to make the french knots fairly delicate so only wrapped the needle two times. You can try three strands and more wraps. Experiment and see what you prefer.
Next form the red felt into a circle, overlapping the ends about 1/4".  Stitch with small running stitches in matching thread.
Center the white embroidered band onto the red felt. Be sure to put the seams for both pieces on top of each other. Pin in place and stitch down with white thread using a running stitch.

Add to your favorite Christmas table and ENJOY!!!!

8.12.14

Holiday Table Runner Tutorial

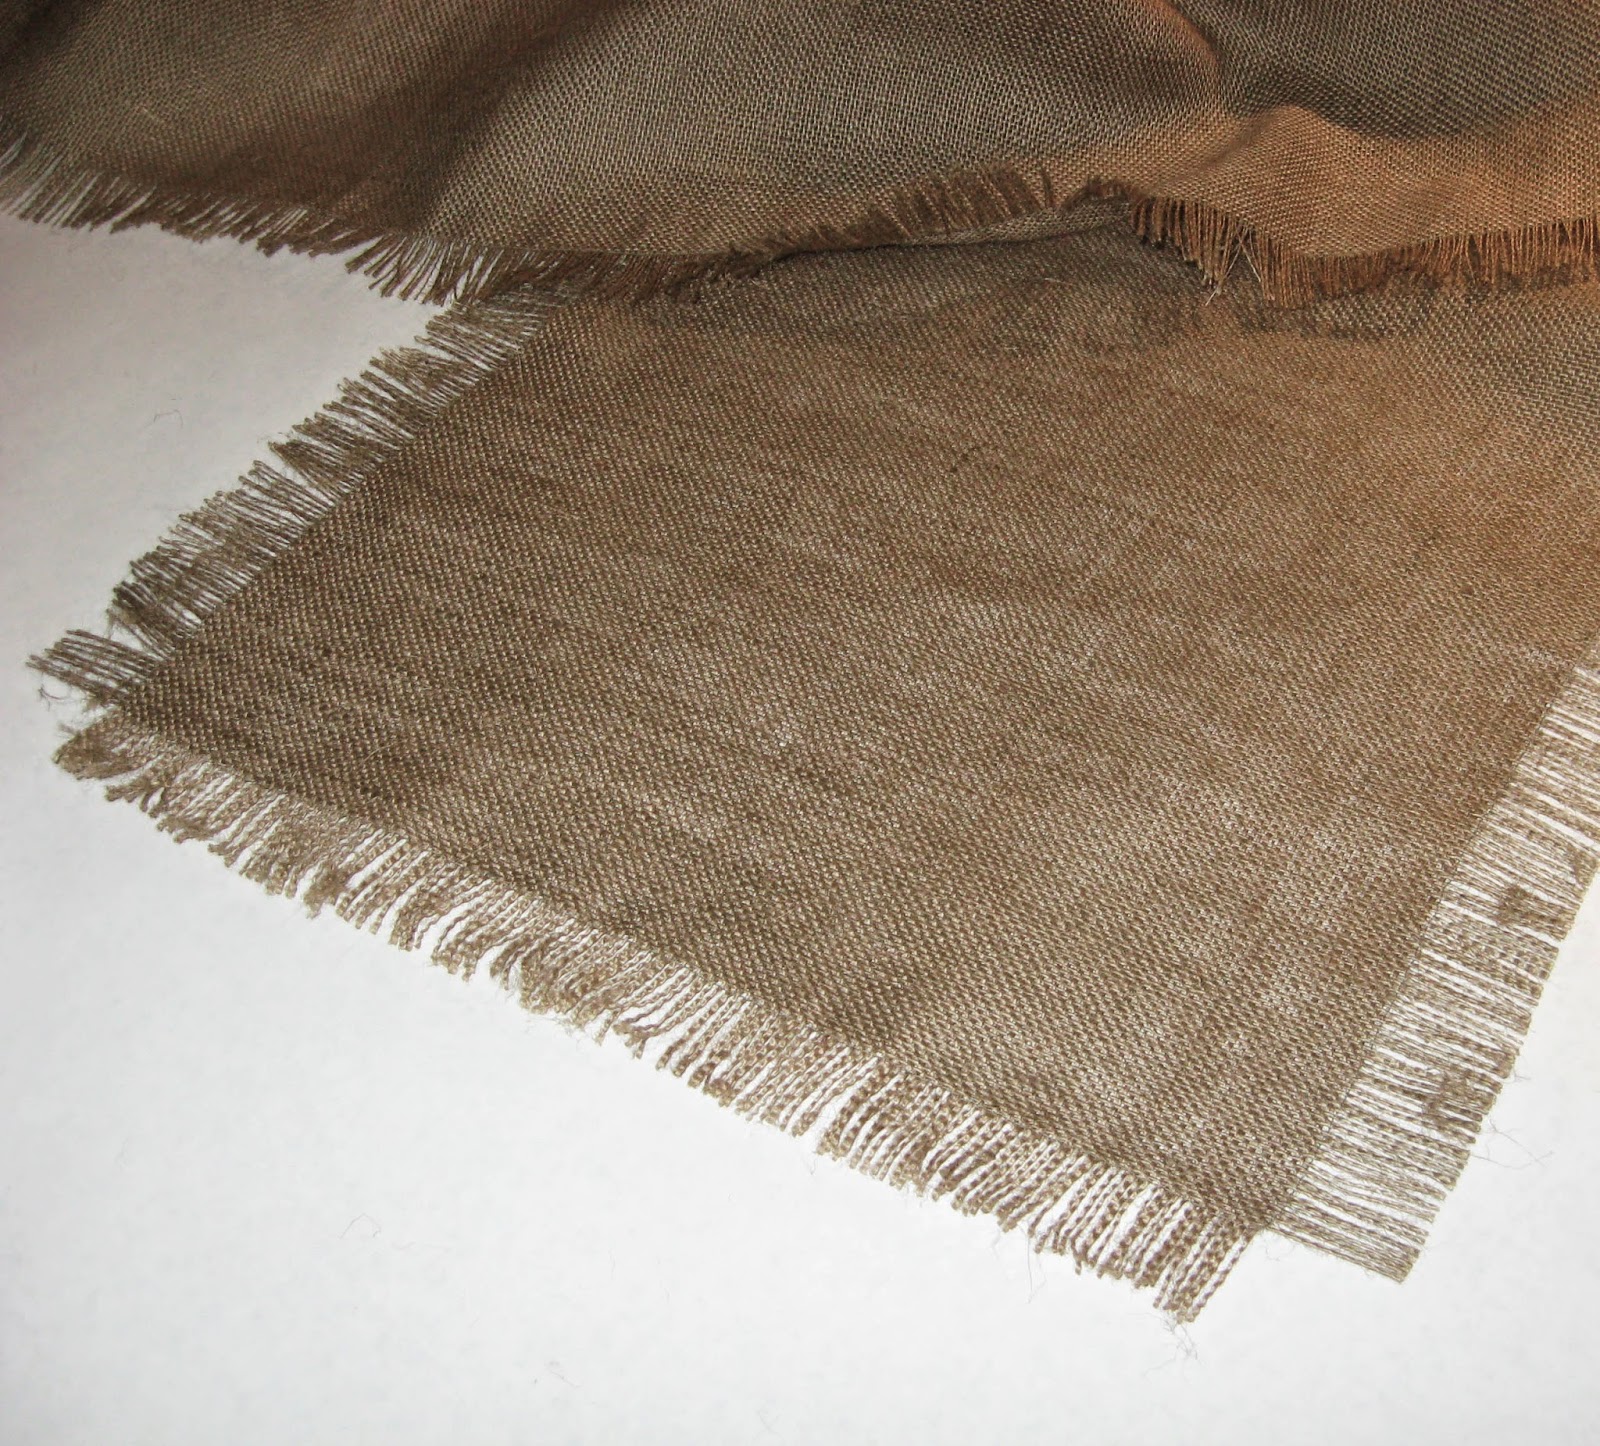
Long ago when I was in fifth grade art class we made burlap place mats.  We pulled out threads and wove in yarns. I thought it was the most wonderful thing I'd ever made.  Mine was white burlap with lime green thread...beeautiful!

  I decided to make a table runner that's a grown up version and create a little tutorial for you.  Mine is made out of burlap but coarsely woven linen could also be used for a more sophisticated version.  This looks great as a Christmas runner but would also work well for Halloween and Thanksgiving.  Make another one in a pastel color for spring holidays.

Materials and supplies:
3/4 yard burlap
matching sewing thread
1 skein size 5 Perle cotton either matching or contrasting
Fray Check
sewing machine
blunt end tapestry needle

***Please read through the entire set of instructions before beginning.  If you are confused by anything feel free to contact me in the comment section.  I'll respond promptly!

When you buy burlap, undoubtedly the edges will be crooked and fraying and it needs to be straighten it.  Pull on a thread that runs the width (in this case the longer edge) of the fabric and pull it out. It will leave a ditch in the fabric.  Cut along the length of the ditch.
cutting in the ditch created by the missing thread

My runner is 14 inches wide plus 1 1/2 inches of fringe on both edges for a total of 17 inches.  From the edge that was just cut, measure 17 inches and similarly, pull out a thread to mark the other edge.  Cut along the ditch left after pulling out the second thread.  Put the rest of the fabric aside.  We will only be working with the 17 inch width of fabric from now on.


On the short edges of the runner is the selvage.  The first thread on these edges need to be cut off because otherwise it will be impossible to fringe.
Cut off first thread along selvage edge
Measure 1 1/2 inches in from each side on all four sides and pull out the thread

at that mark.  You will pull out a total of four threads, two the length and two the width of the piece.
Threads pulled out showing where the "ditches" intersect.
When the threads are pulled all four corners of the fabric should look like the photo above. Now you need to make sure the threads don't fray like crazy! Using a sewing machine and matching thread sew along the ditch that has been made from the missing threads.  ***Important*** when you get to the place where the ditches intersect STOP!!!  Leave the sewing machine needle down, turn the fabric 90 degrees and continue sewing down the next ditch.  If you accidentally sew all the way to the edge of the fabric it will be difficult to fray it.

Now that the fabric has been secured with machine stitches it's time to make the fringe.  Pull out the threads from the outside edges and stop at the sewing machine stitches. It should look like this when you are done.

fringe on all four sides
Next I made two rows of pulled embroidery, one on each side of the length. For each row measure in 1 1/2 inches from the corner of each edge and mark with pins.
measure in from corners and mark with pins
Pull out about an inch of threads from the inside corner of the pins.  To do this, carefully cut the long threads along the short side of the runner until you have clipped about an inch. See photo below.  Pull on one of the long threads in the middle of the group of cut threads and follow it the length of the runner.  Clip this thread 1 1/2 inches from the other edge.  Repeat this until an inch of threads have been removed the whole length of the runner.
threads removed

To prevent the threads that were clipped from coming loose, put a small bit of Fray Check along the edge. Test this on a scrap to make sure it doesn't discolor the fabric.
Fray Check the clipped threads
After the Fray Check has dried it's time to embroider.  Measure a length of Perle cotton 2 1/2 times the length of the pulled threads and thread it on a blunt end tapestry needle.  This amount of thread can get a little tangled and out of hand so working on a cleared table space and pulling it very slowly can help keep it straight.  Tie a knot in the end of the thread and come up from the back a few threads away from the clipped edge.  My runner uses matching Perle cotton but I used a contrasting color in the stitching sample.
pulled thread decorative stitching
Put the needle under 5-7 threads and loop the thread under the tip of the needle as shown in the photo.  Carefully pull the needle and tighten up the Perle cotton which will pull the burlap threads into a little group.  Continue across the whole length of the pulled threads.  Here is a link for a bit more on pulled thread embroidery (also known as drawn thread and hem stitching)
Happy Holidays!  Enjoy your runner!

8.2.11

Valentine Treat Bags


As promised, here is a tutorial for these cute Valentine Treat Bags. Fill these with some sweet candy or little gifts and you'll be well loved! Both bags are made exactly the same way just cut x's and o's instead of hearts for the white one. Have fun!
You will need:
8x10 inch piece of felt for bag
small pieces of felt for the hearts and x's and o's
24 inches of 1/4 inch ribbon
contrasting embroidery floss
ruler with scallop or decorative edge (optional)
purple disappearing pen
sharp pointy scissors
large eye tapestry needle
sewing machine
regular sewing supplies

To make the pattern cut a rectangle 8 1/2 by 6 3/4 inches. To mark the line for the ribbon cuts measure an inch and a half from the top draw a line from side to side. Draw another one parallel and 3/8" below the first one. Mark 1/4" seam allowances on the bottom and two sides. Using a scalloped ruler, or just eyeball it, draw scallops along the top. Please look at the image if any of this seems confusing.

Pin the pattern onto the felt and cut out. Fold back the pattern on the lower line that was drawn for the ribbon. Mark this line on the felt with a purple disappearing pen.

Next cut out hearts, just like you did in elementary school. Cut a square or rectangle, fold it in half and cut half a heart, open and viola!

Arrange the hearts in a way that makes you happy. Be sure to stay underneath the line for the ribbon. Using three strands of embroidery floss and using a running stitch, stitch down the hearts. Bury the knot under the heart so it wont be on the inside of the bag, but between the bag and the heart.
Stitch on all hearts.


Using the purple pen, make dots for the meandering stitch lines (I did two). Once again, keep this below the line for the ribbon.

To have the stitching lines meet up after sewing, mark on the side you will end the stitching on, where you started. That way you can end your line in about the same place you started. Stitch the meandering line.


Stitch 1/4" away from the scalloped edge.


With sharp pointed scissors make small cuts about 1/4" long for threading ribbon through. The cuts should be about 1/2" apart. Fold bag in half matching sides, and using a sewing machine, stitch a 1/4" seam allowance across the bottom and up the side.

Trim the corner on a diagonal.

Turn bag right side out. Using a large eyed tapestry needle, starting next to the seam, thread the ribbon through the small cuts. Make sure you straighten out the ribbon after each stitch because it tends to get twisted. Fill with treats!


21.6.10

Fourth of July Garland


I've been working on a little Fourth of July project for you. There are so many cute garlands around the bloggosphere that inspired me to try one out for myself. These stars are crocheted and then attached to a crochet chain, stiffened and voila you're ready for a celebration.

I tried another version and sewed them onto a red, white and blue ribbon but they didn't hang right, so I've decided to use them to run down the middle of my table and I'll take some and tie them around some napkins for napkin rings. It will be very festive.

The great thing about them is they take no time at all to make and you can whip up one of these garlands, or at least all of the stars while you are watching your kids at soccer or during a T.V. show. If you are not a crocheter here is a link to some good directions, including a video! Here are the directions for the stars.

Fourth of July Stars
Materials
1 skein red and 1 skein blue Size 5 Perle Cotton
Stiffy fabric stiffener
wax or parchment paper
buttons (optional)
Size 1 crochet hook (or whatever guage you want)

Make 7ch, sl st into first ch forming a ring.

1st round 1 ch, work 15 sc into ring, sl st into first sc.

2nd round 9 ch, work 1 sc into 4th ch from hook, 1 hdc into each of next 2 ch, 1 dc into each of next 3 ch, skip first 3 sc on ring, sl st into next sc, *9 ch, work 1 sc into 4th ch from hook, 1 hdc into each of next 2ch, 1 dc into each of next 3 ch, skip next 2 sc on ring. sl st into next sc; repeat from *3 times more placing last sl st into same st as sl st of previous round. Fasten off.

I made 13 stars (7 blue, 6 red).
To attach to chain. With red make a chain about 4 inches long. sl st into the top of a blue star, ch another 3.5-4 inches, sl st into the top of a red star. Continue alternating red and blue stars finishing with a blue star and make a 4 inch chain beyond the last star.

The stars will curl a bit so I used Stiffy and diluted it with the same amount of water. I painted it on both sides of the stars being careful not to get it on the chain and laid them out flat on wax paper to dry. You can sew or glue a button in the middle of the star if you want.

Now to get the picnic gear!!!!

19.1.10

Easy Snowflake Centerpiece - My First Tutorial!

The Chrismas ornaments have been put away for a few weeks and while I really enjoy the holidays, especially the decorating, I always find it a relief to put them away. There seems to be just a little more room to breathe. But, now it's the middle of January and I'm feeling like there needs to be a few more seasonal things about. But what to do for a snowy, and so far rather cloudy, bleak month? I decided to make a felt table mat and snowflakes were my inspiration. After all the holiday making that goes on, I wanted to keep the project simple and using felt seemed to be the perfect fabric - no seams to finish - yay!!!! Here are the directions for my Easy Snowflake Table Centerpiece.
Materials
18 inch square (approximately)white felt
18 inch square(approximately) light blue felt
freezer paper
optional
wonder under, steam a seam or any double faced iron-on applique material
white thread or embroidery floss

Supplies
paper scissors
iron
sharp pointy scissors
I began by using paper scissors to cutting a square of freezer paper (approximately 16 inches) and folded it into sixteenths(fold in half, then in quarters, then in eights and finally one more fold will give you sixteenths) and cut out a snowflake. I did this just like we did when we were kids in grade school.

I then opened it up to see what I had created. You might want to cut out several to get one you really like.

Now, this is sort of the tricky part. You are going to iron the freezer paper onto the white felt. You place the freezer paper shiny side down and using a medium hot iron with NO steam begin to iron from the middle and work your way out smoothing down the paper as you go. Leave the iron on the paper only about 5 seconds. You dont want to scorch the paper or the felt. Now cut around the outside edge of the freezer paper. At this point, if you want to use wonder under or a fusible applique material, you should use it now fusing it to the felt on the opposite side as the freezer paper, following manufacturer's instructions. Leave the freezer in place while you do this.

Next I cut away the felt on the inside where it was showing through the paper. This is a bit tedious but if you have a pair of sharp pointy scissors it makes it really easy. I have a pair of Fiskars that I believe are called micro point. They are available at most craft and sewing stores for about $10. Well worth the investment...I use them for tons of stuff.

Now, carefully peel off the freezer paper. If you get this off in one piece, which I found pretty easy to do, it can be used more than once.

Cut a piece of blue felt about 2 inches larger than the white snowflake. Center the snowflake on the blue felt and carefully pin the snowflake on. Use lots of pins so the snowflake doesn't shift while you continue to work on it.
Using white embroidery floss, stitch around each opening. Now, I know this sounds tedious, but I rather enjoy hand stitching and it really didn't take me very long. Another option if you do not want to do all that stitching is to use Wonder Under or your favorite fusible applique material. You could also glue it, but I was afraid both of these applications would leave the fabric feeling stiff.

Lastly I trimmed around the edges with my sharp pointy scissors and then for fun used a scalloped pinking shears to finish it off. Another idea I had was to cut snowflakes about 4 inches across and make coasters. What a great gift idea to lift those mid-winter blahs!

2.1.10

Top 100 Tutorials

Hey all you crafters out there here is a site I must share with you. My friend Susan at Dandelion Factory sent me the link...it contains the top 100 stitching tutorials of the year. Need I say more? Click to go to The Long Thread, curl up with your laptop and start surfing.

3.6.09

Felt Bon Bon Ring Tutorial


I was perusing my favorite blogs the other day and came upon this great tutorial at the adventures of bluegirlxo. Julie has a great blog and I think this would make a great summer project, especially if you have any tweens to entertain this summer. Go here to see how to make your own felt rings. She has quite a few samples for ideas to stimulate your own creativity.