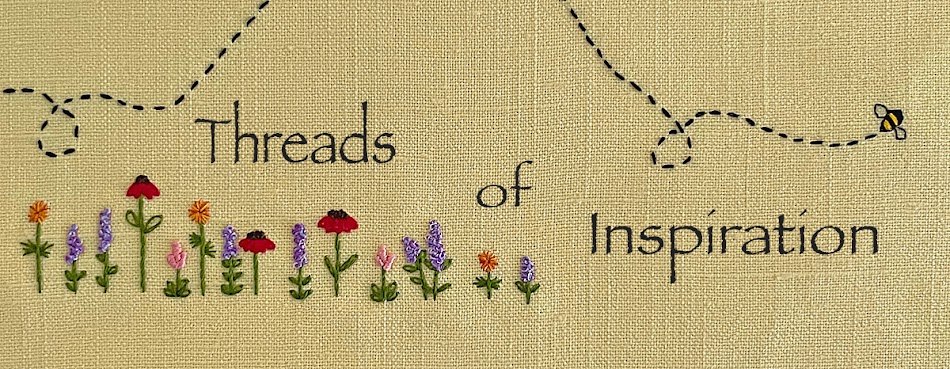
31.7.17

Four Ways to Embroider Text

Rumi Wisdom
When I taught my first beginning embroidery class a few years ago, one of the first questions I was asked was how to embroider text. It is such a good skill to have so I made sure the design I made for my next class included text. As you can see, it was a spiral with text underneath. I enjoyed the format of the design so much that I have continued designing spirals with interesting quotes. It also has led me to try out different methods of embroidering text. I'll discuss the three I've used, each one giving a little bit different effect and another that is quite common but not on my spiral designs.

Back Stitch Letters
When I designed Rumi Wisdom I knew I wanted to use back stitch because this was going to be used to teach beginning embroidery stitches. It is an easy enough stitch that covers lines very well and works up pretty quickly. A drawback is the letters end up looking a little blocky. If you want smooth curves, this might not be the best stitch to use. 

Emerson Winter

The second spiral design, Emerson Winter, has letters that are a little more stylized with small curves at the ends of some of the letters. I knew that using a back stitch wouldn't give me the look I wanted, so this time I used couching. If you've not done any couching you might find it awkward at first because you have to manage two threads in two needles but after a little practice it is easy. Basically one thread is placed over the line you want it to cover (called the laid stitch) and with the second needle and thread (referred to as the working thread) it is tacked down with tiny stitches. In the case of Emerson Winter I used embroidery floss, but this method allows you to use laid thread that is difficult to stitch with (metallic, thick, fuzzy or loopy threads) because it isn't going in and out of the fabric with every stitch. Couching allows you to get all the loops in the letters you could ever want. 

Couched Letters

Grateful Heart
The next design I created, Grateful Heart, used a different treatment. These letters also have a lot of loops and serifs but I wanted them to stand out more and so I first stitched them all using stem stitch. If you've stitched many curves with stem stitch you know the thread sometimes has a tendency to fall over on itself and the curves aren't very well defined. To keep the definition of the letters I then stitched a satin stitch over the stem stitch. So, essentially, the stem stitch acts as a padding. Although this is fairly time consuming, it creates a really lovely raised letter and I would do it again in a minute.


Working Satin Stitch Over Stem Stitch


All of the lettering in these projects is pretty linear but another method of covering letters that have larger areas to be filled is satin stitch. This is often seen on vintage linens that have monograms. to see some fine examples of satin stitch monograms go here. Mary Corbet's Needle n Thread has a fine list of amazing examples.

In addition, here are links to Mary's videos that give excellent instructions for creating the stitches that were discussed. 


Happy Stitching!