Showing posts with label christmas. Show all posts

10.12.15

Christmas Tutorial

 As promised, a tutorial for some holiday embroidered napkin rings.  These are pretty quick and easy to whip up so it's not too late to put together a set for your Christmas dinner or a gift for your stitching pals.

For each napkin ring you will need:

  • 6" x 1 1/2" piece of deep red felt
  • 6" x 1" piece of white felt
  • DMC embroidery floss medium green #367
  • DMC embroidery floss dark green #890
  • DMC embroidery floss red #304
  • DMC embroidery floss dark tan #840

    Notice there are buttons in the photo. I thought about putting them on but decided I didn't like it. I left them in the photo because you might decide you like the look. Also, both embroidery stitches used are linked to a video tutorial on Mary Corbet's site.

To begin the embroidery, using three strands of #840 stitch a line using a backstitch down the center of the white felt. I didn't draw a line, just eyeballed it. If you want you can measure and make small dots with a fine marker as a guide. I left about 1/8" at each end. Notice my line is not perfect! I don't worry about things like that. Branches aren't perfectly straight either!!!!

 Now time to add the pine needles. I decided to stitch these with two different greens in the needle at the same time. This creates a bit of a shadow effect. Measure out two strands of #367 and one strand of #890. Make sure they are the same length. Put all three strands in your needle together. 


 Starting down about three back stitches make little pine needles in sets of two and three where each back stitch joins. Alternate the stitches on either side of the center line. Work your way all the way down the center line stopping one or two back stitches from the end.


Using two strands of #304 make french knots along the center line, alternating sides about 3/4" apart. I wanted to make the french knots fairly delicate so only wrapped the needle two times. You can try three strands and more wraps. Experiment and see what you prefer.
Next form the red felt into a circle, overlapping the ends about 1/4".  Stitch with small running stitches in matching thread.
Center the white embroidered band onto the red felt. Be sure to put the seams for both pieces on top of each other. Pin in place and stitch down with white thread using a running stitch.

Add to your favorite Christmas table and ENJOY!!!!
4.12.15

Holiday Links!

Christmas Tree by Kelly Fletcher

I was recently asked where to find embroidery patterns - my etsy shop has a nice one - but there are all sorts of resources online. Pinterest is one of my go to places for most everything and of course, there were some great patterns. Here are a few of my favorite links for free holiday patterns. There is still plenty of time to get some gifts made.


Mary Corbett has a lovely Holly and Joy monogram pattern. On this page are directions for creating monograms but if you scroll to the bottom you will find the pdf download links.

Cheryl Fall, about.com's stitching expert, designed some easy and quick tags which could go on gifts or the tree.

Another design by Cheryl Fall is a Christmas tree using detached chain stitch, eyelet stitch and satin stitch. Very easy and would whip up quickly. I can imagine this on small hand towels or ornaments.

This pattern is pictured above and is by Kelly Fletcher on Craftsy. One of my favorites!

Regina Lord is the designer and her blog is creative kismet. At the top of the page is an adorable bird design and just below is the tree. She suggests using the design for a tote bag, wall hanging or pillow. 

My next post will be a simple napkin ring to embroider. It will be a speedy project which will make your table festive!!!

P.S. If you are on Pinterest and want to check out my embroidery board, here is a link


8.12.14

Holiday Table Runner Tutorial

Long ago when I was in fifth grade art class we made burlap place mats.  We pulled out threads and wove in yarns. I thought it was the most wonderful thing I'd ever made.  Mine was white burlap with lime green thread...beeautiful!

  I decided to make a table runner that's a grown up version and create a little tutorial for you.  Mine is made out of burlap but coarsely woven linen could also be used for a more sophisticated version.  This looks great as a Christmas runner but would also work well for Halloween and Thanksgiving.  Make another one in a pastel color for spring holidays.

Materials and supplies:
3/4 yard burlap
matching sewing thread
1 skein size 5 Perle cotton either matching or contrasting
Fray Check
sewing machine
blunt end tapestry needle

***Please read through the entire set of instructions before beginning.  If you are confused by anything feel free to contact me in the comment section.  I'll respond promptly!

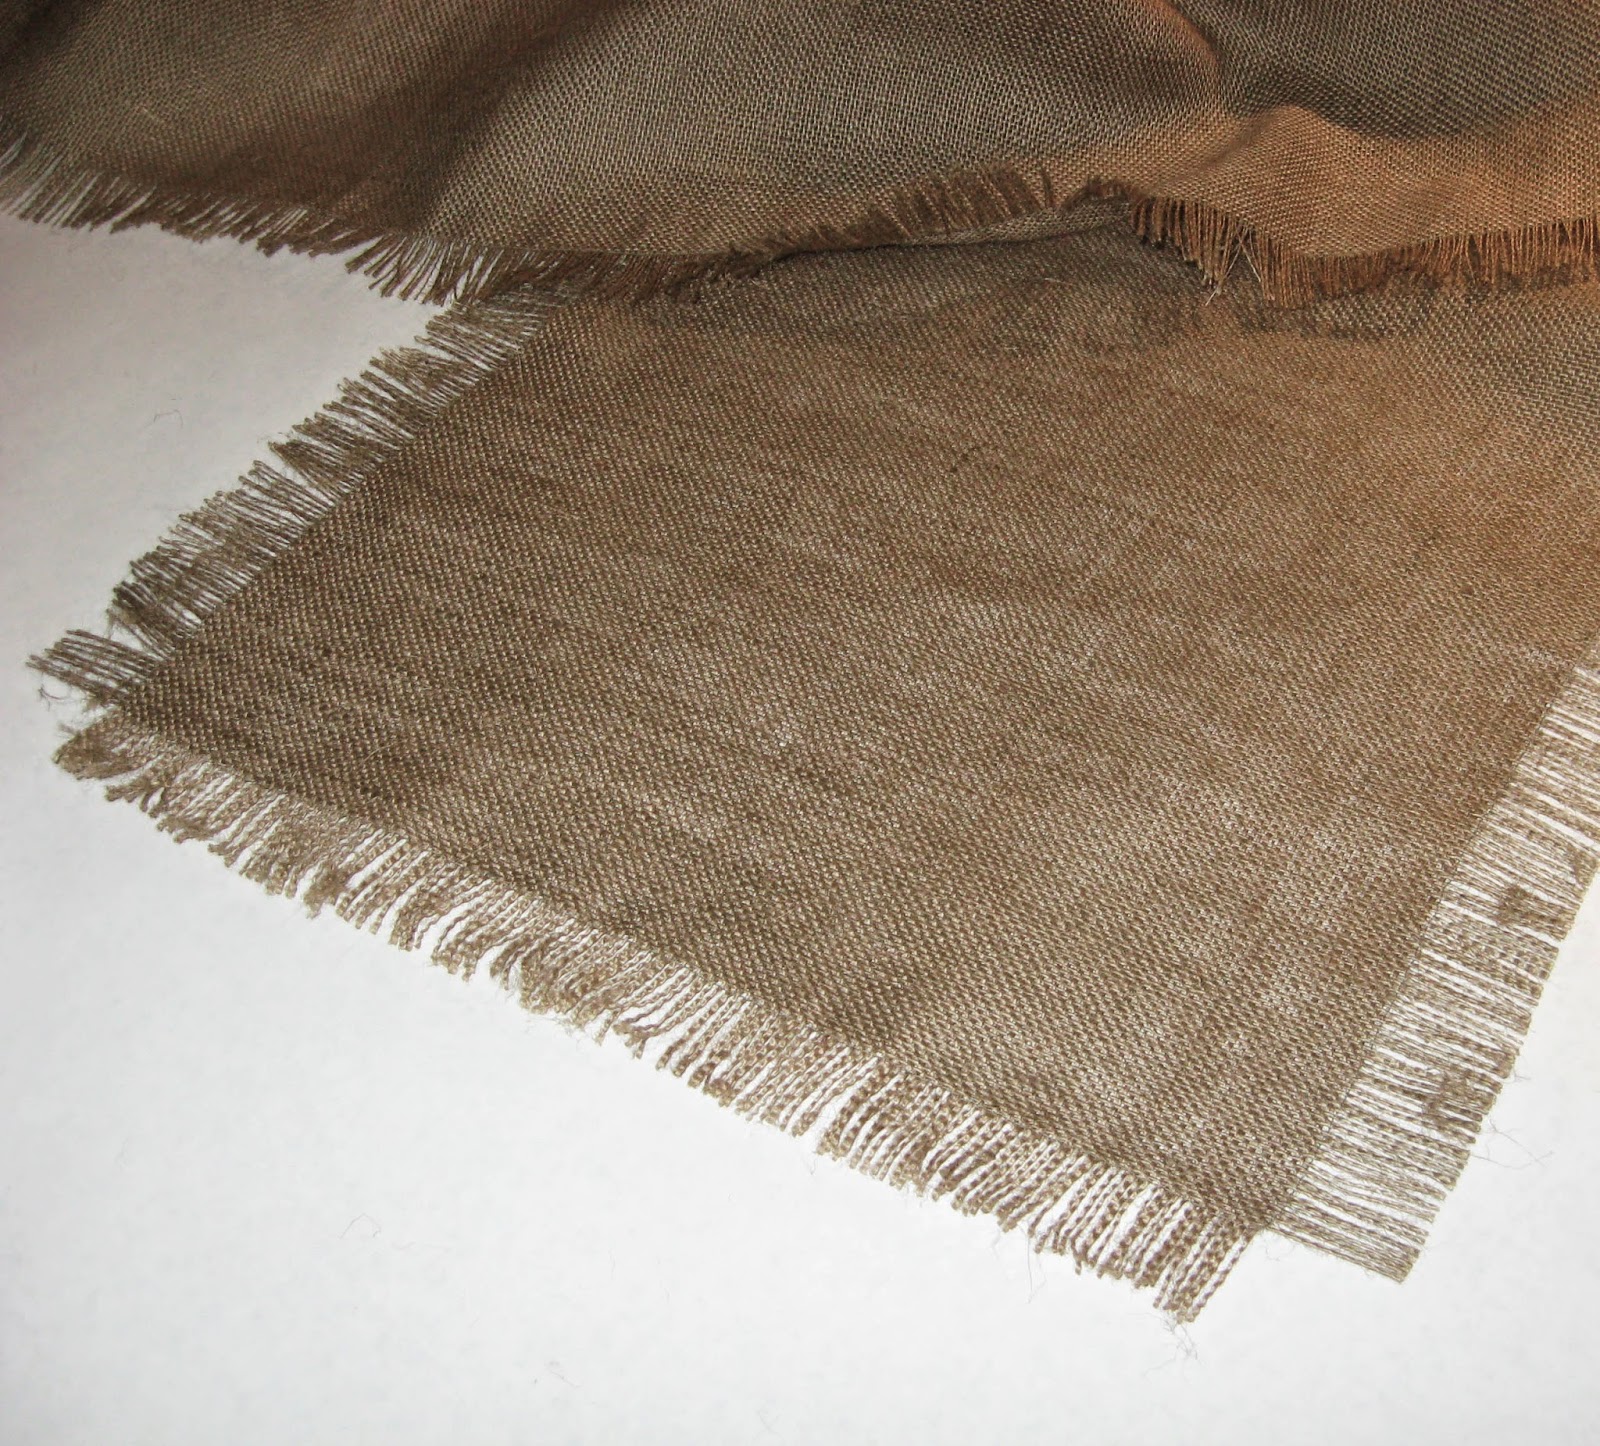
When you buy burlap, undoubtedly the edges will be crooked and fraying and it needs to be straighten it.  Pull on a thread that runs the width (in this case the longer edge) of the fabric and pull it out. It will leave a ditch in the fabric.  Cut along the length of the ditch.
cutting in the ditch created by the missing thread

My runner is 14 inches wide plus 1 1/2 inches of fringe on both edges for a total of 17 inches.  From the edge that was just cut, measure 17 inches and similarly, pull out a thread to mark the other edge.  Cut along the ditch left after pulling out the second thread.  Put the rest of the fabric aside.  We will only be working with the 17 inch width of fabric from now on.


On the short edges of the runner is the selvage.  The first thread on these edges need to be cut off because otherwise it will be impossible to fringe.
Cut off first thread along selvage edge
Measure 1 1/2 inches in from each side on all four sides and pull out the thread

at that mark.  You will pull out a total of four threads, two the length and two the width of the piece.
Threads pulled out showing where the "ditches" intersect.
When the threads are pulled all four corners of the fabric should look like the photo above. Now you need to make sure the threads don't fray like crazy! Using a sewing machine and matching thread sew along the ditch that has been made from the missing threads.  ***Important*** when you get to the place where the ditches intersect STOP!!!  Leave the sewing machine needle down, turn the fabric 90 degrees and continue sewing down the next ditch.  If you accidentally sew all the way to the edge of the fabric it will be difficult to fray it.

Now that the fabric has been secured with machine stitches it's time to make the fringe.  Pull out the threads from the outside edges and stop at the sewing machine stitches. It should look like this when you are done.

fringe on all four sides
Next I made two rows of pulled embroidery, one on each side of the length. For each row measure in 1 1/2 inches from the corner of each edge and mark with pins.
measure in from corners and mark with pins
Pull out about an inch of threads from the inside corner of the pins.  To do this, carefully cut the long threads along the short side of the runner until you have clipped about an inch. See photo below.  Pull on one of the long threads in the middle of the group of cut threads and follow it the length of the runner.  Clip this thread 1 1/2 inches from the other edge.  Repeat this until an inch of threads have been removed the whole length of the runner.
threads removed

To prevent the threads that were clipped from coming loose, put a small bit of Fray Check along the edge. Test this on a scrap to make sure it doesn't discolor the fabric.
Fray Check the clipped threads
After the Fray Check has dried it's time to embroider.  Measure a length of Perle cotton 2 1/2 times the length of the pulled threads and thread it on a blunt end tapestry needle.  This amount of thread can get a little tangled and out of hand so working on a cleared table space and pulling it very slowly can help keep it straight.  Tie a knot in the end of the thread and come up from the back a few threads away from the clipped edge.  My runner uses matching Perle cotton but I used a contrasting color in the stitching sample.
pulled thread decorative stitching
Put the needle under 5-7 threads and loop the thread under the tip of the needle as shown in the photo.  Carefully pull the needle and tighten up the Perle cotton which will pull the burlap threads into a little group.  Continue across the whole length of the pulled threads.  Here is a link for a bit more on pulled thread embroidery (also known as drawn thread and hem stitching)
Happy Holidays!  Enjoy your runner!

22.11.08

Holiday Listings


After a fairly long time away from posting I am back and am planning on a more regular post...at least once a week. I have been thinking up some topics, including easy ways to embellish fabric, at least my favorite easy ways. That means no trips to the craft store for big bottles of liquids you may use only once. That is always what stops me from trying the more complicated embellishments.>

I love Christmas and I have been busy making holiday ornaments and gifts. I just posted them on my etsy site, so go here to check them out. You'll find some tiny santas, penguins, hearts and pincushions. The pincushion are embellished with vintage buttons from my grandma's button box. Anything from either of my grandmother's stash comes with good sewing karma, so put a pincushion next to your sewing chair and see if it works for you!


>